Three Easy Steps

Step-by-Step Procedure of Ear Piecring
Inverness recommends the use of disposable hygiene gloves and gauze mask. Use a new pair of gloves for each customer having their ears pierced. 

Seat the customer in the piercing chair. Ensure the customer’s hair is pulled back. Check the ear for keloids. Keloids are lumps which are felt when the earlobe or cartilage is compressed. If lumps are present, refer the customer to her physician for the piecing. It is advisable that you do not do the piercing if lumps are present.

   STEP 1 - CLEANSE
To cleanse the ears, simply remove the folded towelette from the wrapper and use it folded. Rub the front and back of the ear with the towelette. Hand the towelette directly to the customer. Have the customer open the towelette and clean his/her hands.
Remove the sterile seal from the Inverness cassette and place the tape in the lid portion of the cassette.
Insert the earring capsule into the section of the instrument. Do not squeeze the handle or press the eject button.
   STEP 2 - MARK
Mark the ears with the Inverness iodine-based surgical marking pen which is safe for ear piercing. Do not use any other type of pen or marker for this procedure. When marking the ear, the dot made should be no larger than a pinhead.
Follow these guidelines for marking the ears: 
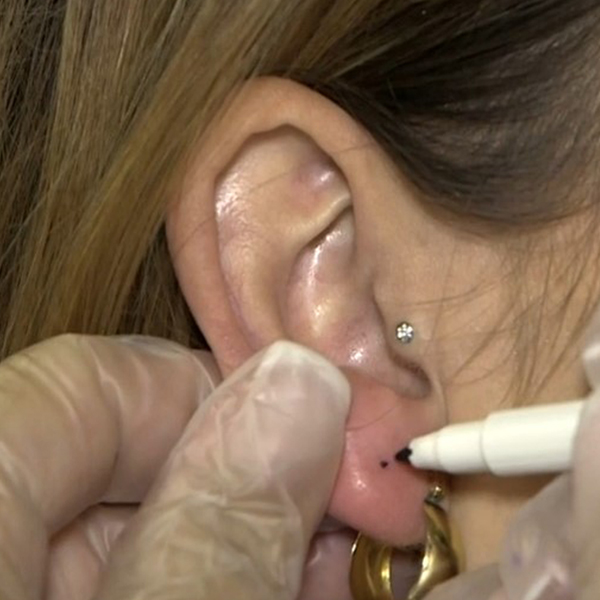
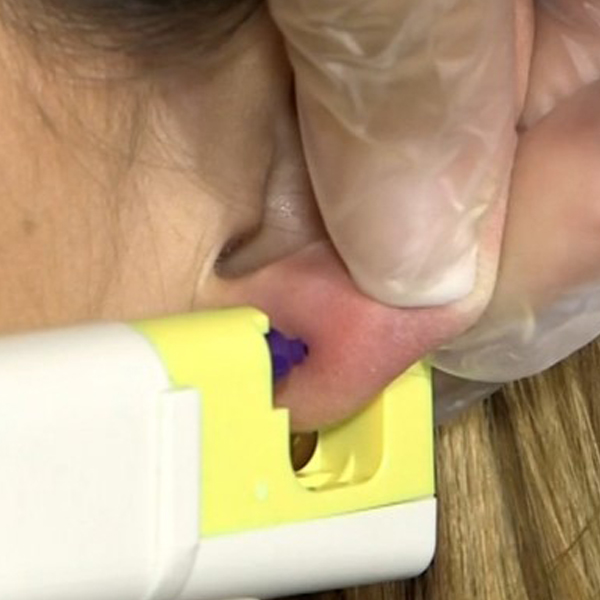
First Ear Piercing:Place the dot on the center of the earlobe. Draw an imaginary line across the customer’s face to ensure the ears are marked as evenly as possible. (Figure A)


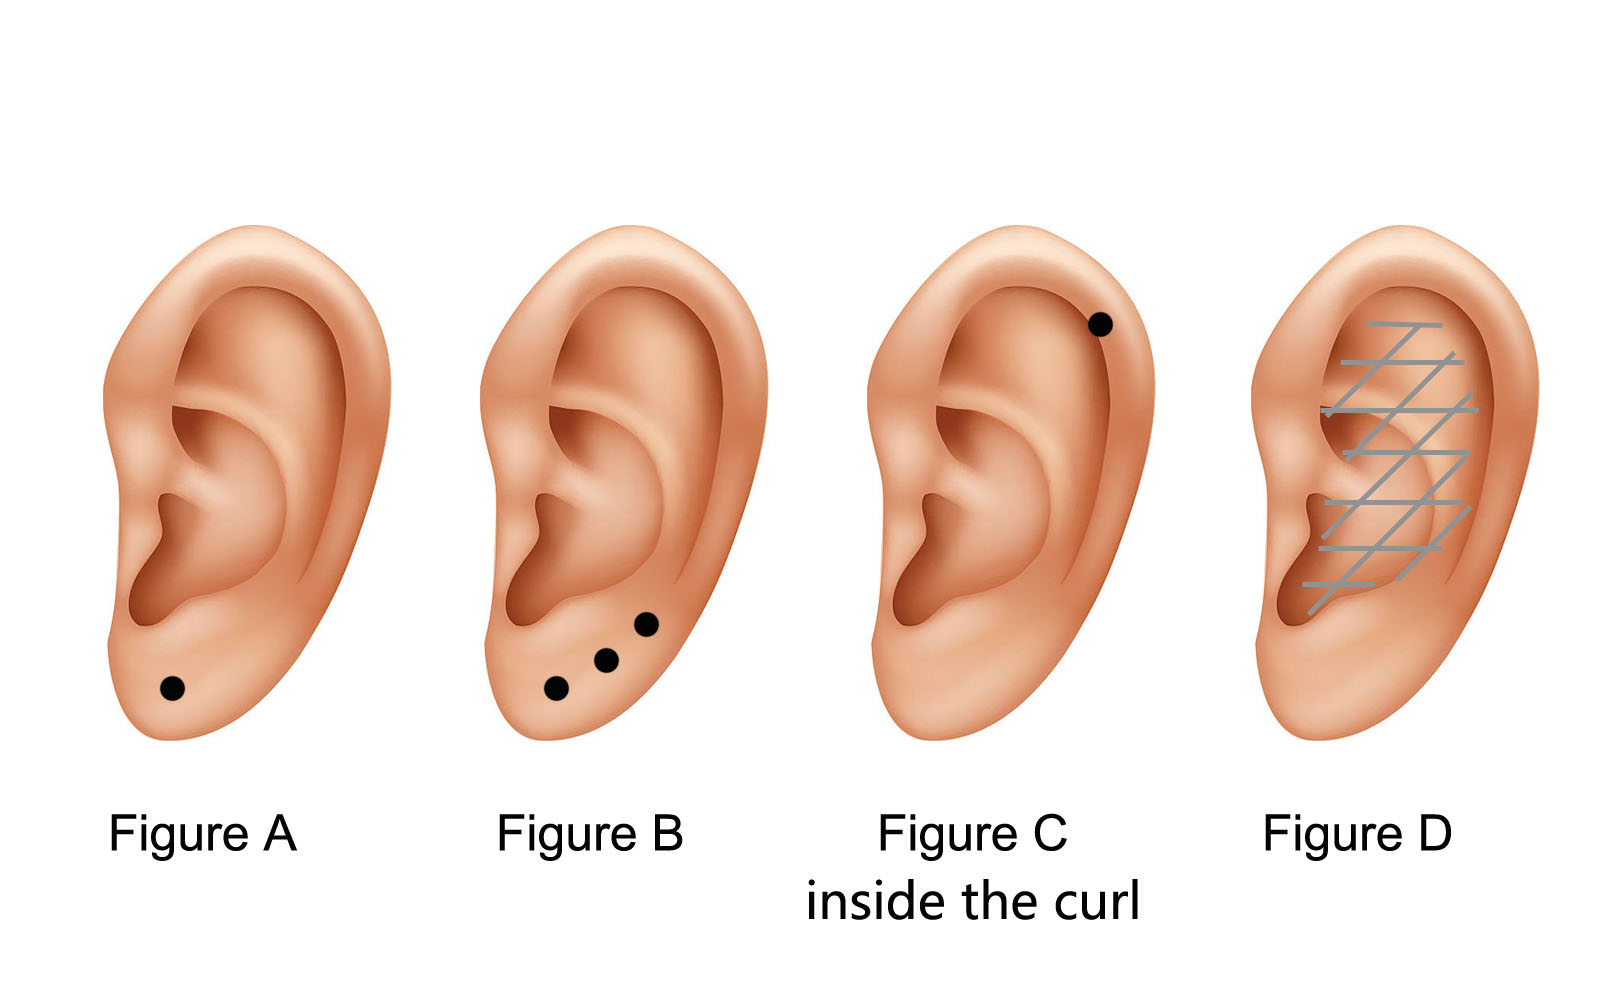
Multiple Earlobe Piercing:For an additional or multiple earlobe piercing, follow the natural line of the earlobe and place the dot approximately 3/8” up from the last hole. Spacing should never be closer than 1/4” because there would not be enough room for the earring back. Check the customer’s preference for earring styles. If large earring styles will be worn, more space will be required between holes. (Figure B)

Cartilage Ear Piercing:For cartilage ear piercing, place dot on the flat portion of the ear, close to but not inside the curl. If you pierce inside the curl, the earring back will be exposed from the front view. (Figure C)

Do not pierce any other body parts. Do not pierce in the shaded area represented in Figure D. 

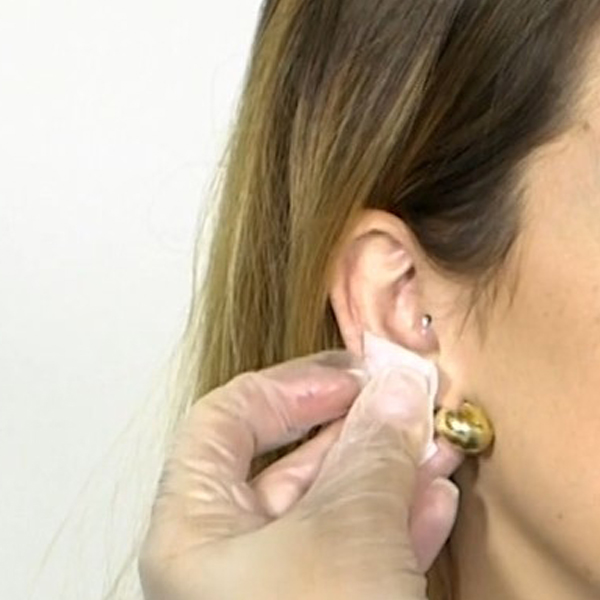
Important:Before ear piercing, using a mirror, have the customer or parent check the location of the marks to make sure she/he is satisfied with the placement.

   STEP 3 - PIERCE
Position the ear between the front and rear of the capsules. The back of the ear should be resting against the earring clutch capsule. Hold the upper portion of the ear between your fingers for steady and accurate piercing. Hold the piercing instrument level. Keep hands clear from the piercing area.
Slowly and Gently squeeze the instrument handle until the tip of the inner capsule barely touches the marked dot on the ear.
Firmly squeeze the instrument handle until it is fully depressed to ensure the earring goes completely through the ear and engages with the earring clutch.

Completely release hand pressure and gently move the instrument down and away from the ear
Prepare the instrument for the second ear by removing and inverting both capsules.
Repeat the piercing process.

Push the eject button then the capsule has been released from the instrument.
Finally, hand the customer a mirror so they can look at their newly-pierced ears.   


Please note that this policy differs from what we recommened. If a customer is unhappy with their piercing,we instruct them to go home to remove the earring and then return in 24 hours to be re-pierced.